















Saltar al contenido
MisLibrosTexto
Ad

Communication: I Got It — Presentación de resultados del proyecto

📄 ejercicios ciencias-naturales 🎓 secundaria · 2° Secundaria México 🇲🇽 MX 🗣 Español
Página 70
70 de 171
Página 70 de Uérakua anapu uantakua. Projects and Readings.  Libro de Educación Secundaria Grado 2°  Ciclo Escolar 2025 - 2026
Anterior Página 70 / 171 Siguiente

Respuesta rápida

Proyecto completado: instrumento diseñado, construido y probado; resultados graficados y presentados en asamblea con retroalimentación.

📚 exercise ciencias-naturales ⭐⭐ Dificultad 2/5 ⏱ 6 min lectura

Solución — Página 70

Uérakua anapu uantakua. Projects and Readings. Libro de Educación Secundaria Grado 2° Ciclo Escolar 2025 - 2026

1
Ejercicio 1

Ejercicio c

Gather information on the instrument you chose, its operating principles and its main uses.

  1. Identificar el instrumento elegido (por ejemplo, un dinamómetro casero).
  2. Buscar en fuentes confiables su principio de funcionamiento (ley de Hooke: F = k \cdot x).
  3. Registrar sus usos principales (medir fuerzas, pesar objetos).

Respuesta orientativa: Se recopila información del instrumento, su principio operativo y sus usos en una ficha de investigación.

Ejercicio d

Design the instrument.

  1. Elaborar un boceto con medidas y partes.
  2. Indicar el material de cada componente.
  3. Señalar cómo se ensamblará.

Respuesta orientativa: El diseño incluye dibujo a escala, lista de partes y secuencia de armado.

Ejercicio e

Select the materials you need to assemble it and make sure they are recyclable.

  1. Listar materiales: botella de plástico, elásticos, papel, cartón.
  2. Verificar que sean reciclables o reutilizables.
  3. Descartar los no reciclables.

Respuesta orientativa: Se eligen materiales reciclables como plástico, cartón y papel.

Ejercicio f

Assemble the instrument.

  1. Seguir el diseño paso a paso.
  2. Unir las piezas con cinta o pegamento.
  3. Verificar que quede funcional.

Respuesta orientativa: El instrumento queda armado según el diseño.

Ejercicio g

Take note of the whole process.

  1. Registrar fecha, materiales y pasos.
  2. Anotar dificultades y ajustes.

Respuesta orientativa: Bitácora con el proceso completo de construcción.

Ejercicio h

Test it.

  1. Realizar pruebas controladas.
  2. Medir al menos tres veces.
  3. Registrar los datos en tabla.

Respuesta orientativa: Se obtienen datos experimentales del instrumento.

Ejercicio i

Take note of the results.

  1. Organizar los datos en tabla.
  2. Calcular promedios.

Respuesta orientativa: Tabla de resultados con valores y promedios.

Ejercicio j

Draw conclusions about this activity, and write them in your notebook.

  1. Comparar hipótesis con resultados.
  2. Redactar conclusión sobre el problema general.

Respuesta orientativa: Conclusión escrita que valida o refuta la hipótesis.
Antes

1
Ejercicio 1

Create a bar graph where you display the results of experiments 1 and 2. Compare if your conclusions match the results of the bar graph.

  1. Eje X: experimentos 1 y 2. Eje Y: valores obtenidos.
  2. Dibujar barras proporcionales a los datos.
  3. Comparar visualmente con las conclusiones.
Respuesta

Gráfica de barras con dos columnas comparables.

2
Ejercicio 2

Draw some posters to support your presentation.

  1. Incluir título, problema, hipótesis y resultados.
  2. Usar letra grande e imágenes.

Durante

Respuesta

Carteles con la información clave del proyecto.

Ad
3
Ejercicio 3

In assembly, share and analyze the problem, the hypothesis, the operational principles, the materials, and their design process. Then, present your results. Allow other students to give ideas about how to improve the instrument you created. Take notes.

  1. Exponer en orden: problema, hipótesis, principios, materiales, diseño.
  2. Mostrar resultados y gráfica.
  3. Escuchar sugerencias y anotarlas.

Respuesta orientativa: Presentación oral estructurada y notas de mejora.

Después

4
Ejercicio 4

Ask the class for feedback on your work and their suggestions for doing it better next time. Listen to them attentively and answer any questions they may have. Pay respectful attention to the other communities' presentations and ask for clarification if you have any doubt. Then get together again to share your findings. If possible,

  1. Solicitar retroalimentación al grupo.
  2. Escuchar con respeto otras presentaciones.
  3. Reunirse para compartir hallazgos finales.

Respuesta orientativa: Retroalimentación recogida y conclusiones compartidas.

Contenido de la página

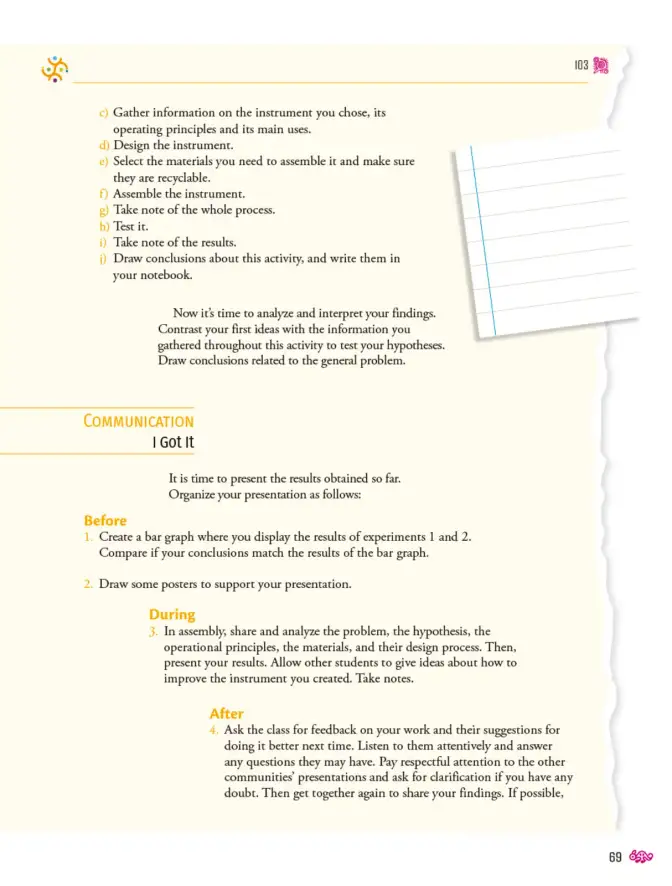
c) Gather information on the instrument you chose, its operating principles and its main uses. d) Design the instrument. e) Select the materials you need to assemble it and make sure they are recyclable. f) Assemble the instrument. g) Take note of the whole process. h) Test it. i) Take note of the results. j) Draw conclusions about this activity, and write them in your notebook.

Now it's time to analyze and interpret your findings. Contrast your first ideas with the information you gathered throughout this activity to test your hypotheses. Draw conclusions related to the general problem.

COMMUNICATION

I Got It

It is time to present the results obtained so far. Organize your presentation as follows:

Before

  1. Create a bar graph where you display the results of experiments 1 and 2. Compare if your conclusions match the results of the bar graph.
  2. Draw some posters to support your presentation.

During 3. In assembly, share and analyze the problem, the hypothesis, the operational principles, the materials, and their design process. Then, present your results. Allow other students to give ideas about how to improve the instrument you created. Take notes.

After 4. Ask the class for feedback on your work and their suggestions for doing it better next time. Listen to them attentively and answer any questions they may have. Pay respectful attention to the other communities' presentations and ask for clarification if you have any doubt. Then get together again to share your findings. If possible,

Glosario (4)

Hypothesis
Suposición que se prueba mediante experimentación.
Bar graph
Gráfica que usa barras para comparar datos.
Feedback
Retroalimentación o comentarios para mejorar.
Assembly
Reunión o asamblea del grupo.

Preguntas para practicar

¿Por qué es importante contrastar la hipótesis con los resultados?

Porque permite validar o refutar las ideas iniciales y construir conocimiento basado en evidencia.

¿Qué materiales reciclables puedes usar para construir un instrumento?

Botellas de plástico, cartón, papel, elásticos y latas limpias.

Temas y conceptos clave

Proyecto de investigaciónComunicación de resultadosHipótesisInstrumentoGráfica de barrasRetroalimentación
¿Te fue útil esta página?

Preguntas que la gente también hace

¿Cómo se elabora una gráfica de barras con resultados experimentales?
Consulta la solución completa arriba o explora el libro entero para temas relacionados.
¿Qué elementos debe tener una presentación de proyecto científico?
Consulta la solución completa arriba o explora el libro entero para temas relacionados.
¿Cómo se da retroalimentación respetuosa en una asamblea escolar?
Consulta la solución completa arriba o explora el libro entero para temas relacionados.
📌 Antes de leer esto
  • • Identificación de problema e hipótesis
  • • Manejo de tablas de datos
  • • Elaboración de gráficas simples
Siguiente tema sugerido
Evaluación de proyectos y autoevaluación
📝 Transcripción de la página (texto seleccionable) 1546 caracteres

Gather information on the instrument you chose, its operating principles and its main uses.

d) Design the instrument.

e) Select the materials you need to assemble it and make sure they are recyclable.

f) Assemble the instrument.

g) Take note of the whole process.

h)Test it.

i) Take note of the results.

i)Draw conclusions about this activity, and write them in your notebook.

Now it's time to analyze and interpret your findings.Contrast your first ideas with the information you gathered throughout this activity to test your hypotheses.Draw conclusions related to the general problem.

COMMUNICATION I Got It

It is time to present the results obtained so far.Organize your presentation as follows:

Before

  1. Create a bar graph where you display the results of experiments 1 and 2.Compare if your conclusions match the results of the bar graph.

  2. Draw some posters to support your presentation.

During

  1. In assembly, share and analyze the problem, the hypothesis, the operational principles, the materials, and their design process. Then,present your results. Allow other students to give ideas about how to improve the instrument you created. Take notes.

After

  1. Ask the class for feedback on your work and their suggestions for doing it better next time. Listen to them attentively and answer any questions they may have. Pay respectful attention to the other communities' presentations and ask for clarification if you have any doubt. Then get together again to share your findings. If possible,

福

103

69

8

Ad

Otros libros recomendados

Ver todos →
Ad

Usamos cookies propias y de terceros para personalizar contenido, mostrar publicidad y analizar el tráfico. Las cookies necesarias siempre están activas.